
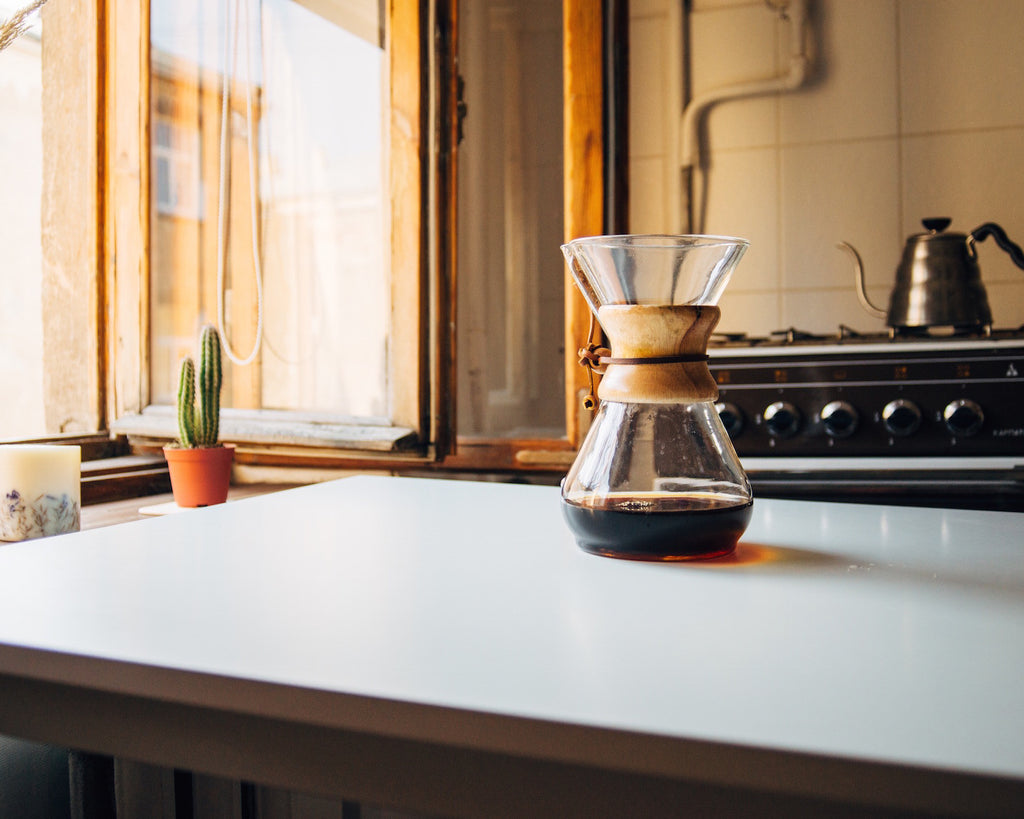
The Chemex Coffeemaker is a fantastic device for brewing a pour over coffee. Believe it or not but this device has actually been around since the 1941. It was very popular during the 60s but seemed to fade away as the automatic coffee maker became ubiquitous in American homes. As of 2010 the Chemex has made quite the resurgence thanks to popularity within the specialty coffee industry. Devices like these continue to gain popularity as coffee consumers branch out from their automatic drip and single serve machines. You can usually find a local coffee shop nearby that sells the brewers. If you can't find one send a message to Calioh Coffee and we'll get you set up. If you're already hooked-up then this next part is for you.
Supplies: Chemex brewer, Chemex filters, coffee grinder, water kettle, timer, kitchen scale and fresh roasted coffee beans.
Brewing Instructions:
Step 1 - Heat your water to 205°F. Be sure to use filtered water or relatively "good" tap water. If you live in Ventura like us then you're water is terrible and you'll want to use a good filtered water. We find that Crystal Geyser makes a good filtered water for coffee brewing.
Step 2 - Grind 45 grams of coffee. Be sure to grind your coffee fresh every time you make coffee. The grind should be as course as kosher salt, which is slightly more course than table sugar. If you grind too fine you'll likely get bitter coffee. If you grind too course you're likely to have sour coffee. If your brew is finishing around 4:00 - 4:30 min then you should probably be getting a pretty good flavor.
Step 3 - Unfold the coffee filter and place the triple fold toward the spout. It's our preference to use only bleached filters as they don't impart as much unwanted flavors into the final brew. It's your choice in the end, but one day experiment by pouring water over a bleached filter and an unbleached filter. Taste some of the brew water from each experiment and notice the flavors. Once you try this you'll likely only ever use bleached filters again.
Step 4 - Pour heated water over the filter saturating it well to rinse the filter flavors away and to pre-heat the brewer. Swirl the water around the bottom for a second and discard it in the sink. Don't worry, the filter shouldn't fall out.
Step 5 - Take your 45 grams of ground coffee and dump it into the filter, filling up the center most part of the filter.
Step 6 - Place the Chemex on the scale and zero (tare) it out.
Step 7 - Pour 90 grams of water over the coffee grinds, fully saturating them, and begin the timer. This is called the bloom. If your coffee is as fresh as ours then you'll literally see the coffee bed come alive.
Step 8 - After 45 seconds pour 160 more grams of water on the coffee grounds to a total weight of 250 g. Pour in a circular motion trying to aim your pour at the dark spots. Try to stay away from the sides to prevent water from sneaking behind the coffee and filter.
Step 9 - When the water level begins to drop add an additional 200 g of water, or until the water level is about 1/2 inch from the top of the brewer (not the top of the filter.)
Step 10 - Once the water level begins to drop again begin slowly adding water until you reach a total weight of 720 g. Again aim for the dark spots while pouring in a circular motion. As the coffee brews you can watch the timer. You're trying to get the brew to finish before 4:30. If at first your brew goes too long, or too short, just adjust your grind the next time to speed up or slow down the brew -- Course for faster, fine for slower.
Step 11 - Pull the filter and toss it when the coffee reaches the button in the glass, or when the drips become slow and all the water has been brewed. Give the final brew a swirl and enjoy.
This brew guide is meant to be an open-ended starting point for discussion. We'd love to hear your thoughtful input. You're welcome to share your own recipes, too.
Leave a comment